DIY Christmas Light Installation Tips for Roanoke Homeowners
DIY Christmas Light Installation Tips for Roanoke Homeowners

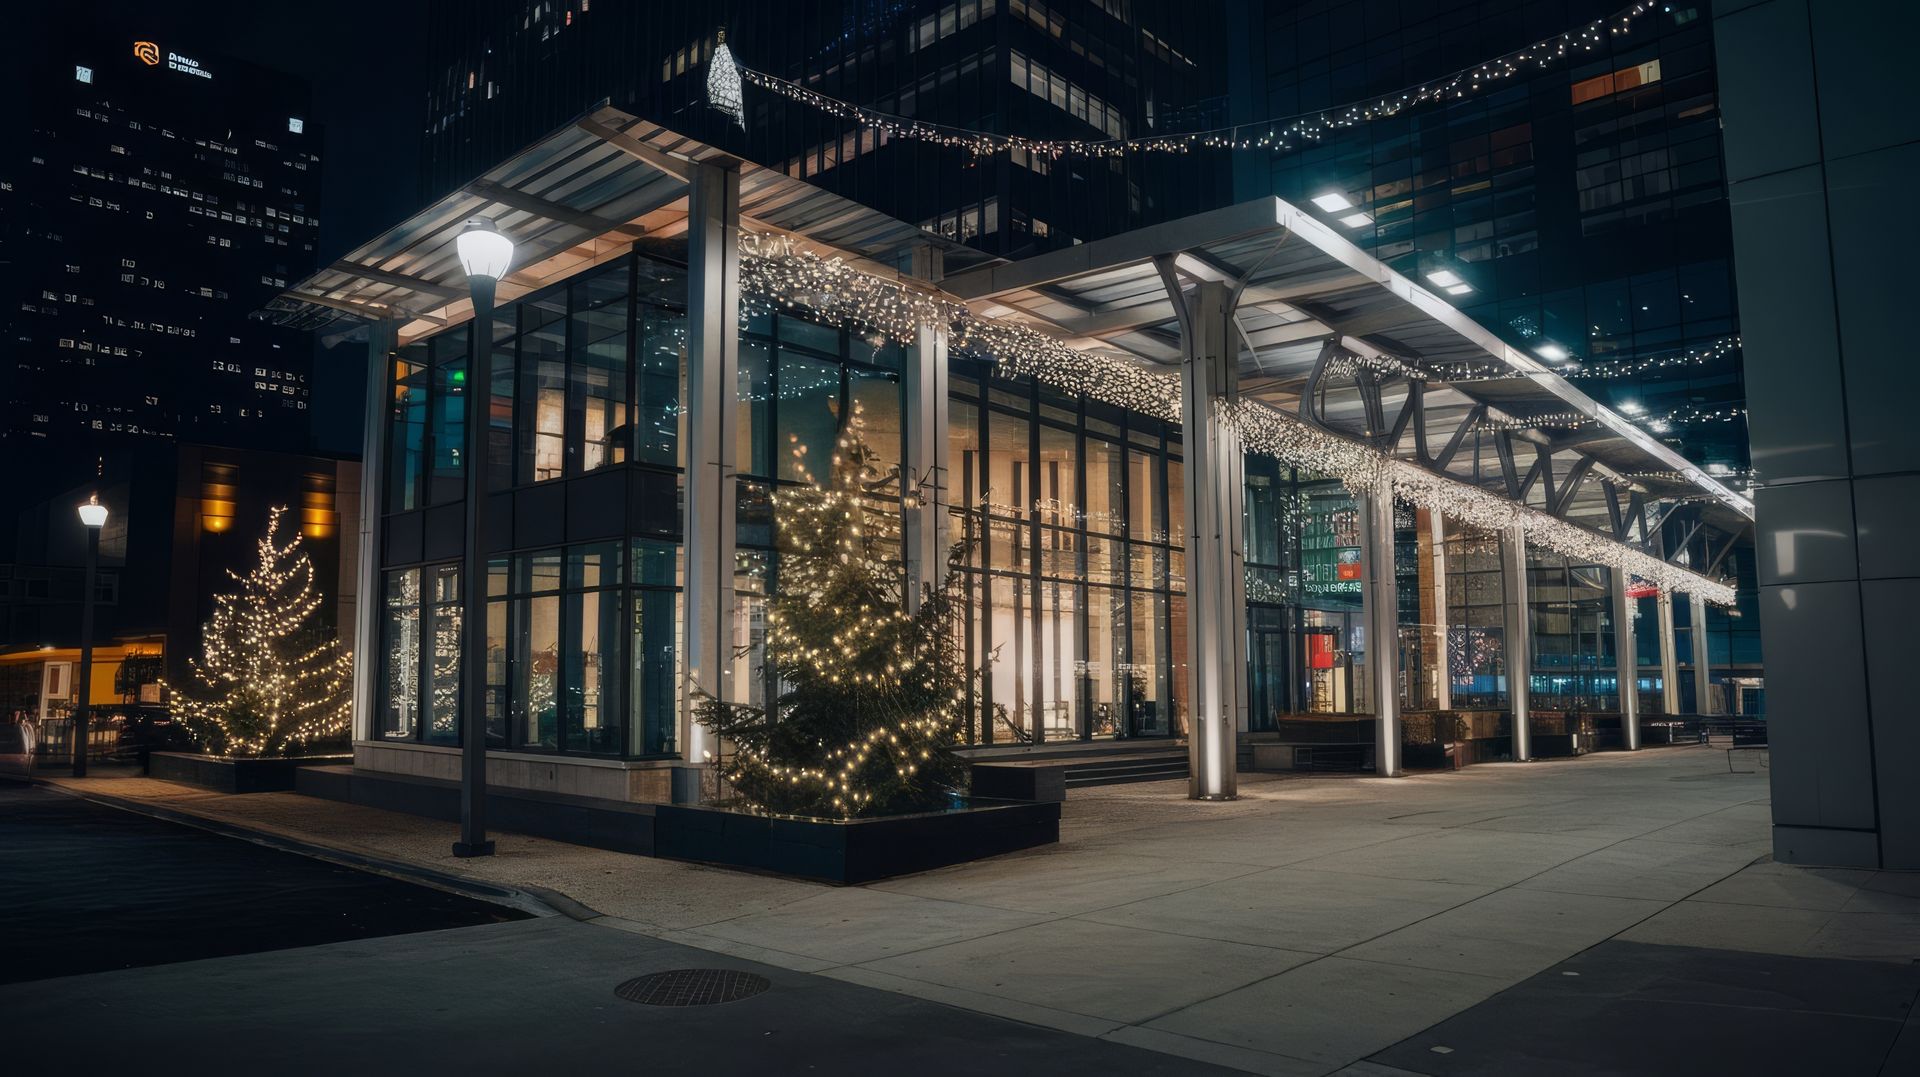
The holiday season is upon us, and there's no better way to spread cheer than by adorning your home with beautiful Christmas lights. Whether you're a seasoned decorator or a first-time installer, these DIY tips will help you create a stunning display while ensuring safety and efficiency. Here’s how Roanoke homeowners can light up their homes this Christmas.
1. Plan Your Design
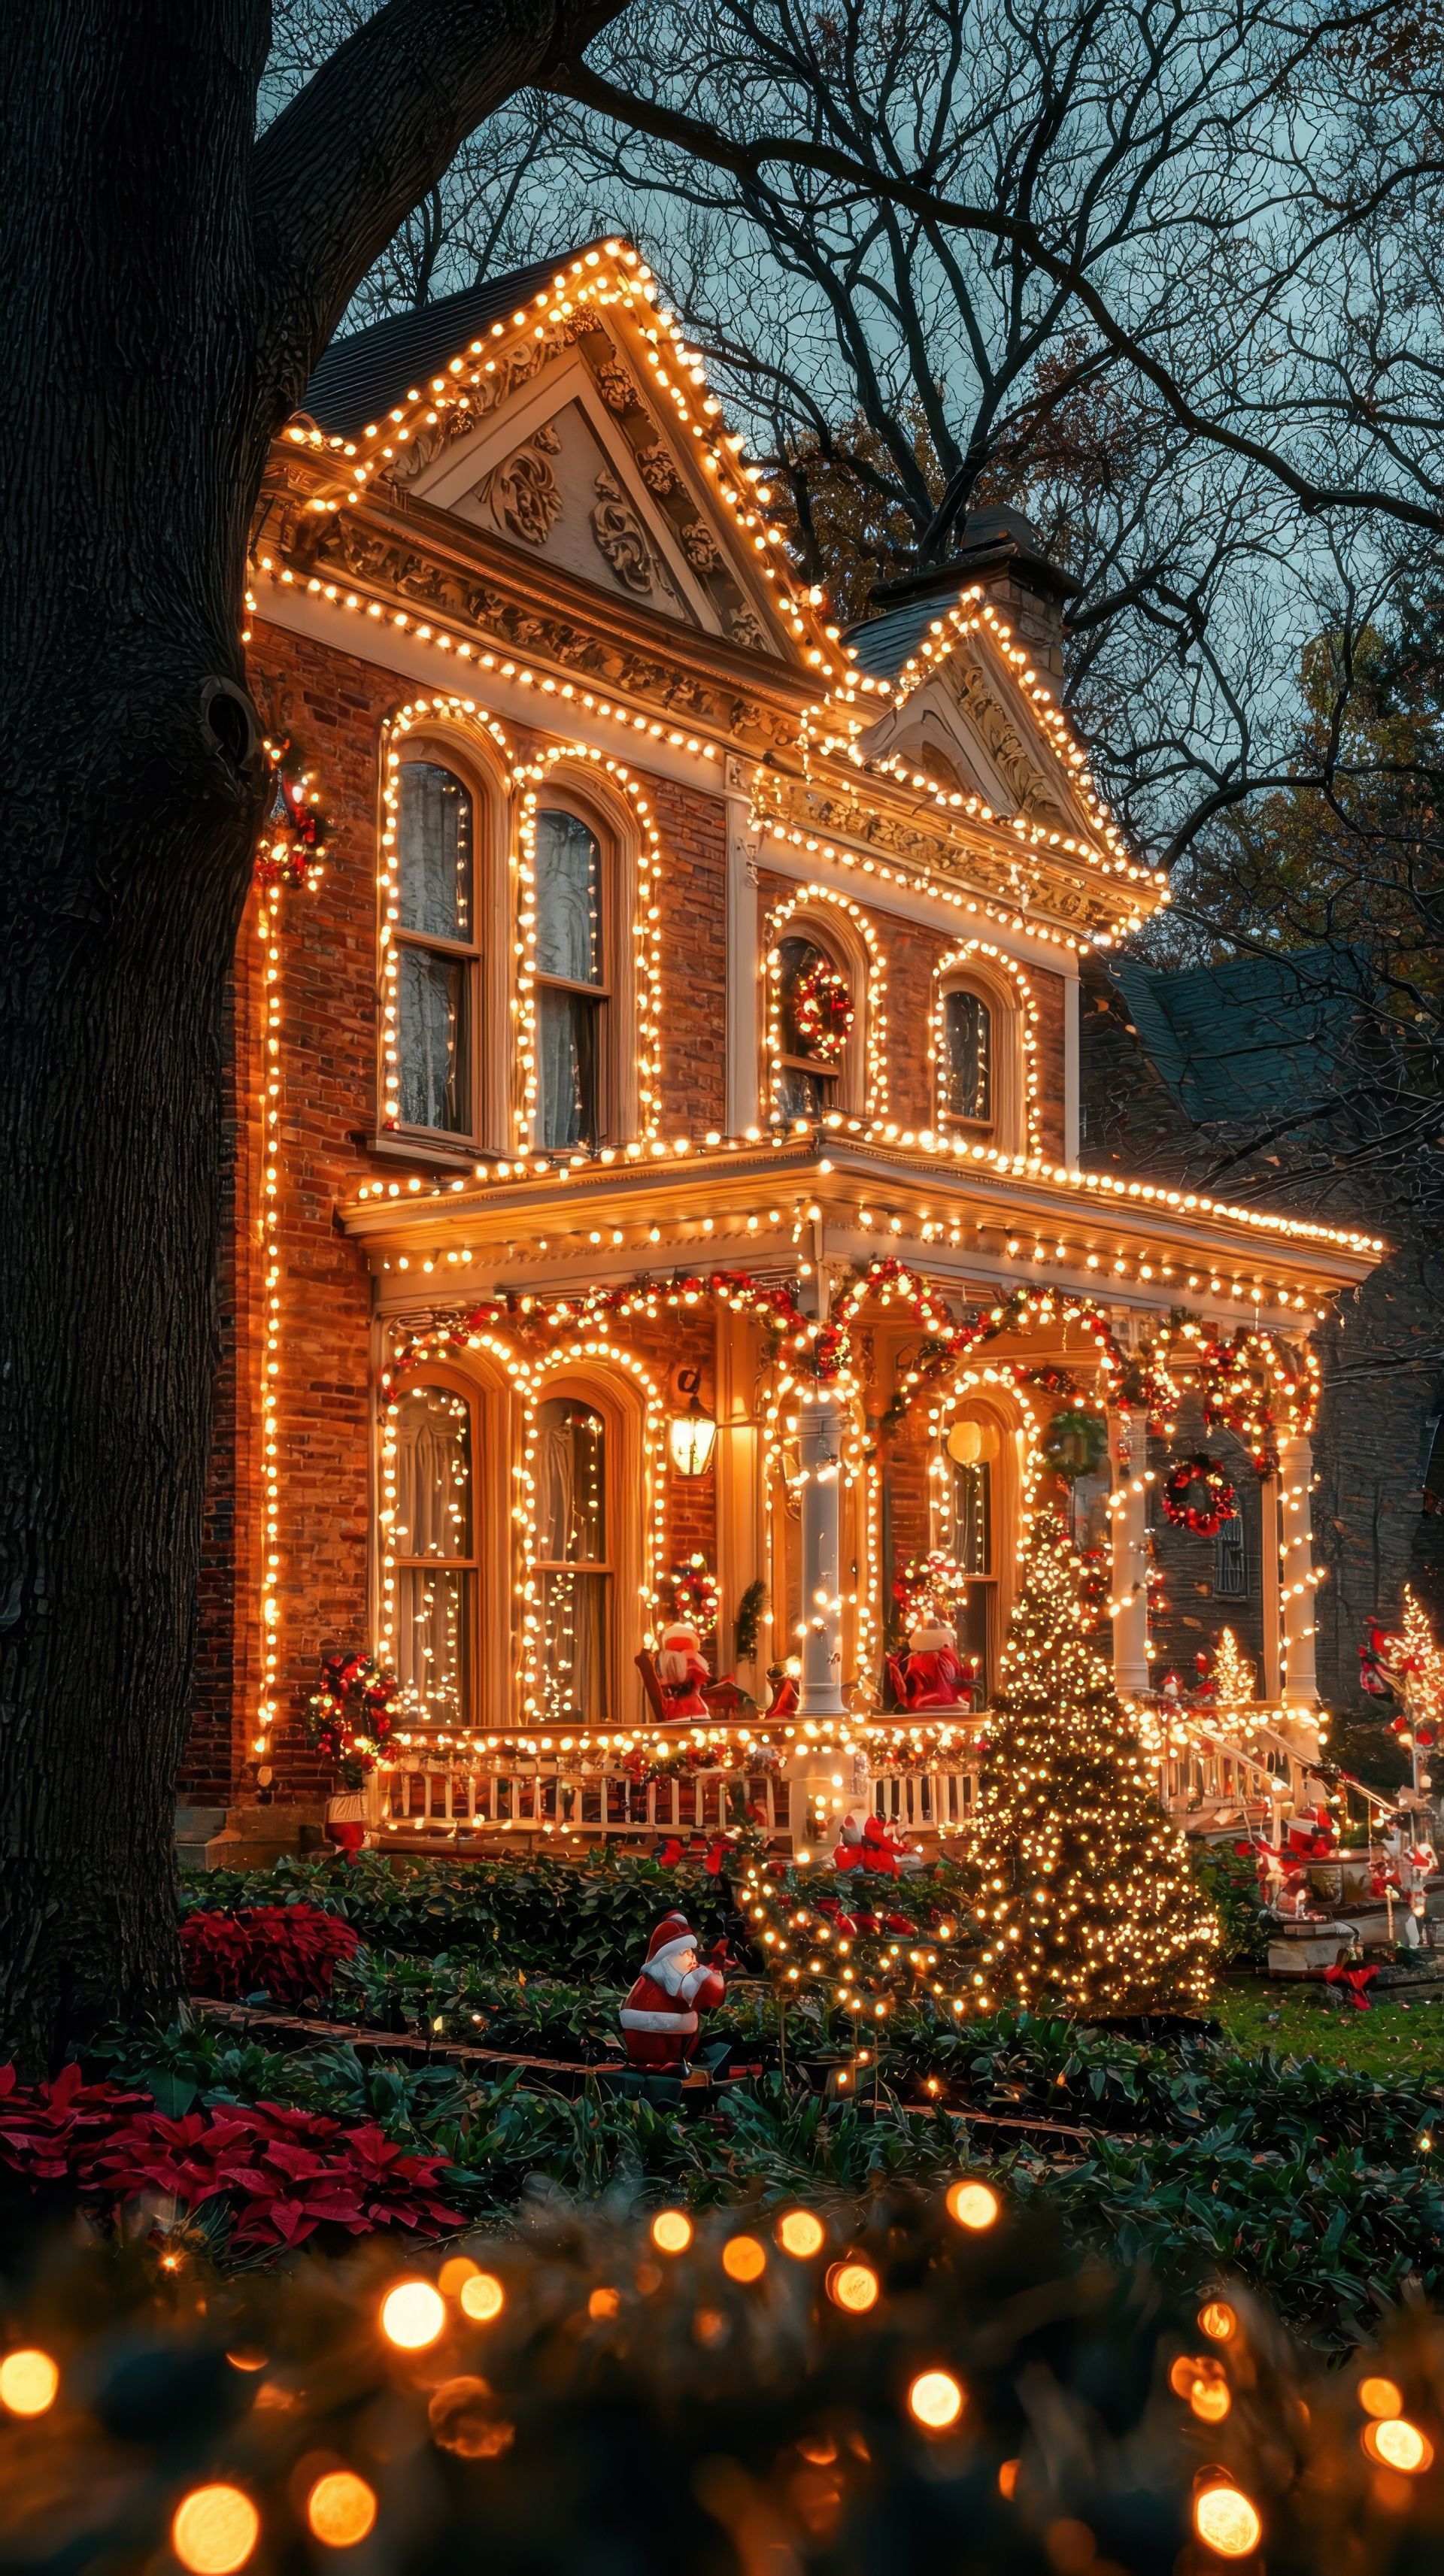
Before you start hanging lights, take some time to plan your design. Consider the architectural features of your home and decide which areas you want to highlight. Popular choices include rooflines, windows, doorways, and trees. Sketch a rough layout and measure the areas to determine how many lights you'll need.
2. Choose the Right Lights
Selecting the right type of lights is crucial for achieving your desired look. Here are some options to consider:
LED Lights: Energy-efficient and long-lasting, LED lights are a great choice for both indoor and outdoor displays.
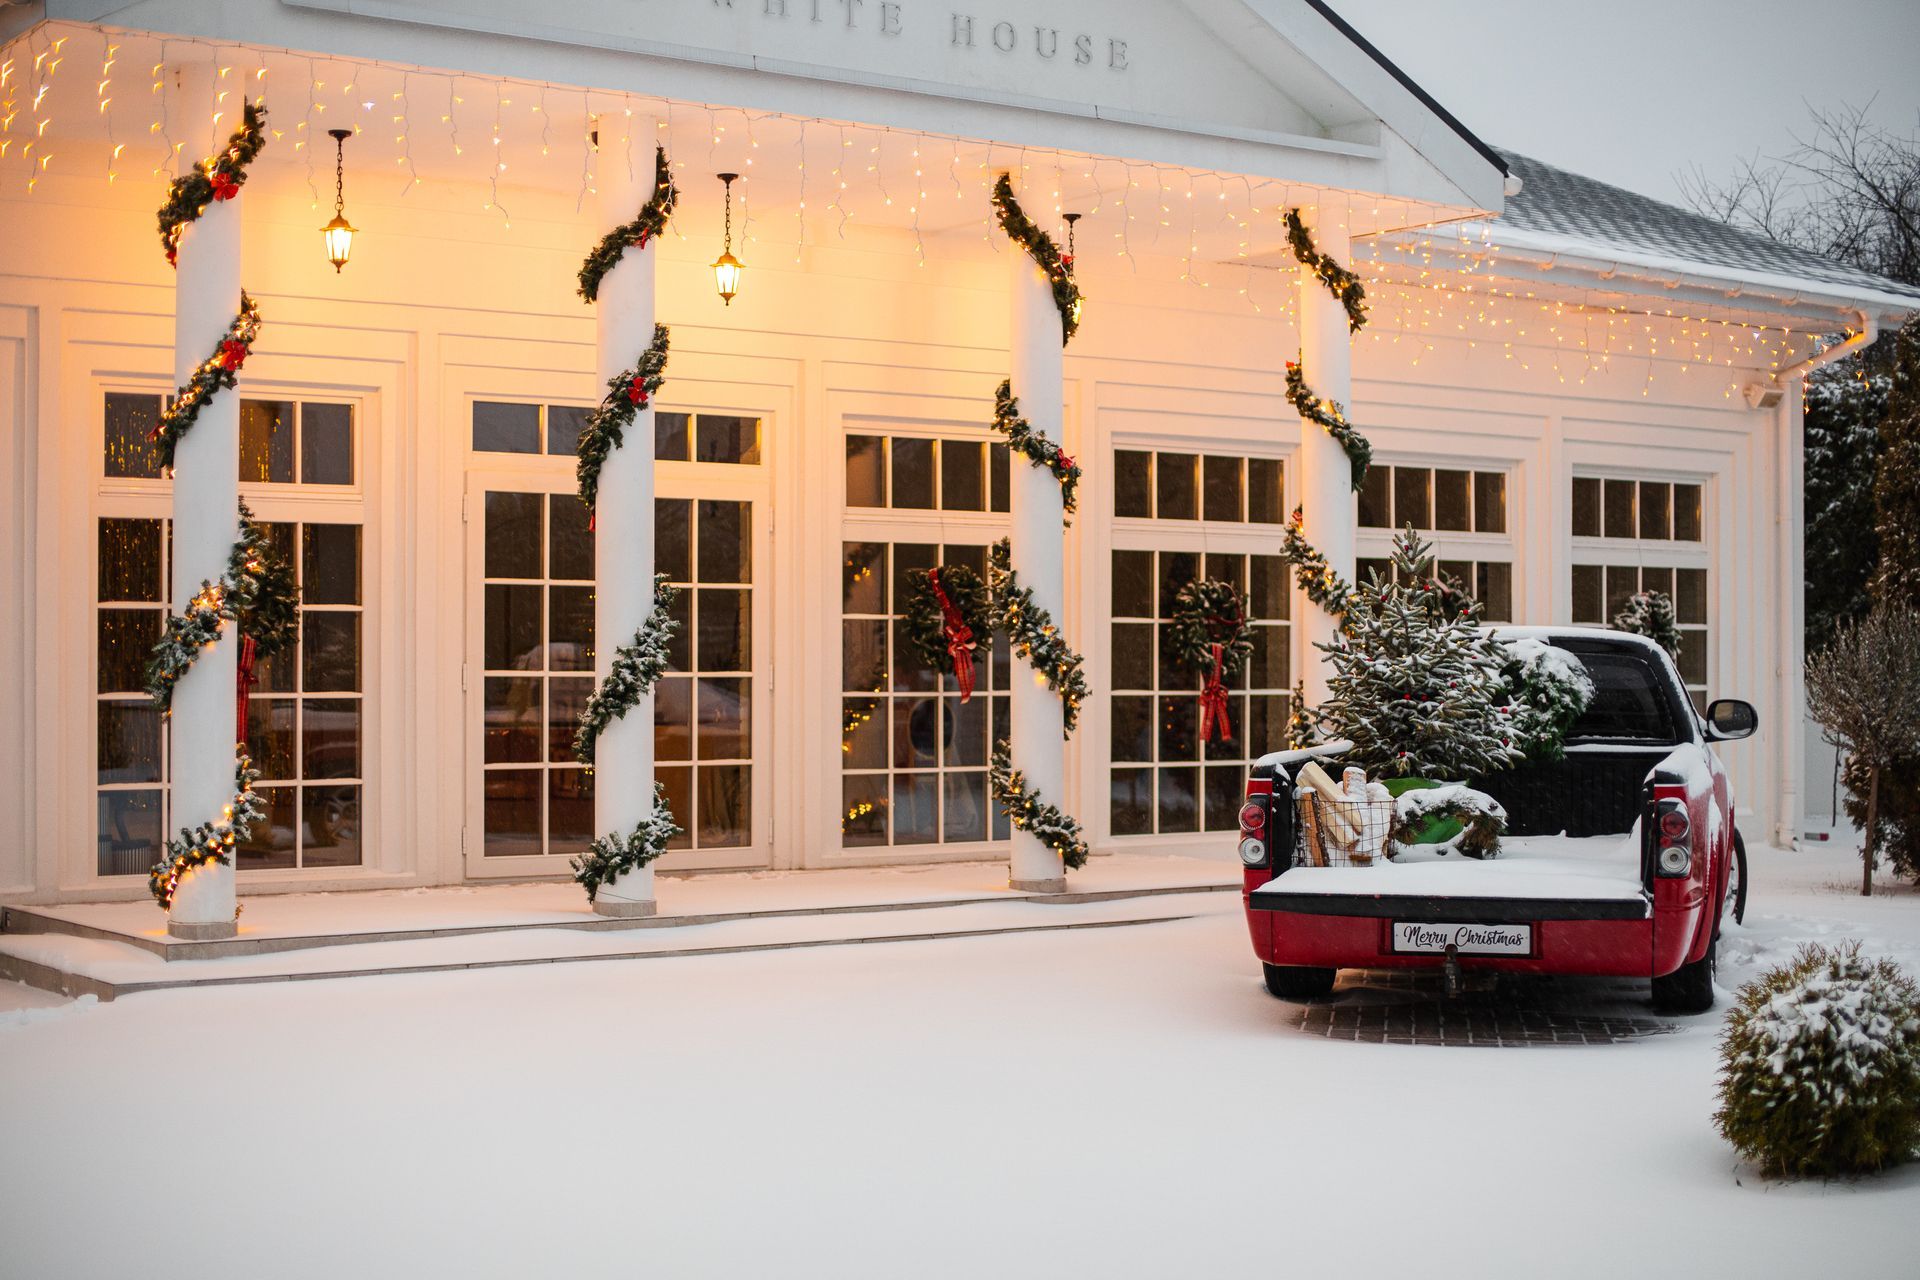
Icicle Lights: Perfect for rooflines, these lights create a cascading effect that mimics icicles.
Net Lights: Ideal for bushes and hedges, net lights provide even coverage with minimal effort.
String Lights: Versatile and available in various colors and sizes, string lights can be used almost anywhere.
3. Gather Your Tools and Materials
Having the right tools on hand will make the installation process smoother. Here’s what you’ll need:
Ladder: Ensure it’s sturdy and tall enough to reach your roofline safely.
Light Clips: Use clips designed for your specific surface (e.g., gutters, shingles) to avoid damaging your home.
Extension Cords: Choose outdoor-rated cords and ensure they’re long enough to reach your power source.
Timer: A timer will automatically turn your lights on and off, saving energy and hassle.
4. Safety First
Safety should always be your top priority when installing Christmas lights. Follow these tips to ensure a safe installation:
Check Your Lights: Inspect all lights for frayed wires or broken bulbs before use. Replace any damaged strands.
Avoid Overloading Circuits: Plug lights into different circuits to prevent overloads and potential fire hazards.
Secure Your Ladder: Place your ladder on a stable surface and have someone hold it steady while you work.
Use GFCI Outlets: Plug outdoor lights into Ground Fault Circuit Interrupter (GFCI) outlets to prevent electrical shocks.
5. Install Your Lights
With your plan in place and safety measures taken, it’s time to start decorating:
Start from the Top: Begin with the highest point of your home and work your way down. This approach makes it easier to manage the lights and avoid tangling.
Use Clips, Not Nails: Light clips are designed to hold lights securely without damaging your home’s exterior.
Test as You Go: Plug in each section of lights before moving on to ensure they’re working properly.
6. Add Finishing Touches
Once your lights are up, consider adding some finishing touches to enhance your display:
Wreaths and Garland: Add greenery to doors and windows for a classic holiday look.
Spotlights: Use spotlights to highlight specific features of your home or yard.
Inflatables and Figures: Incorporate festive inflatables or figures to add personality and charm.
Conclusion
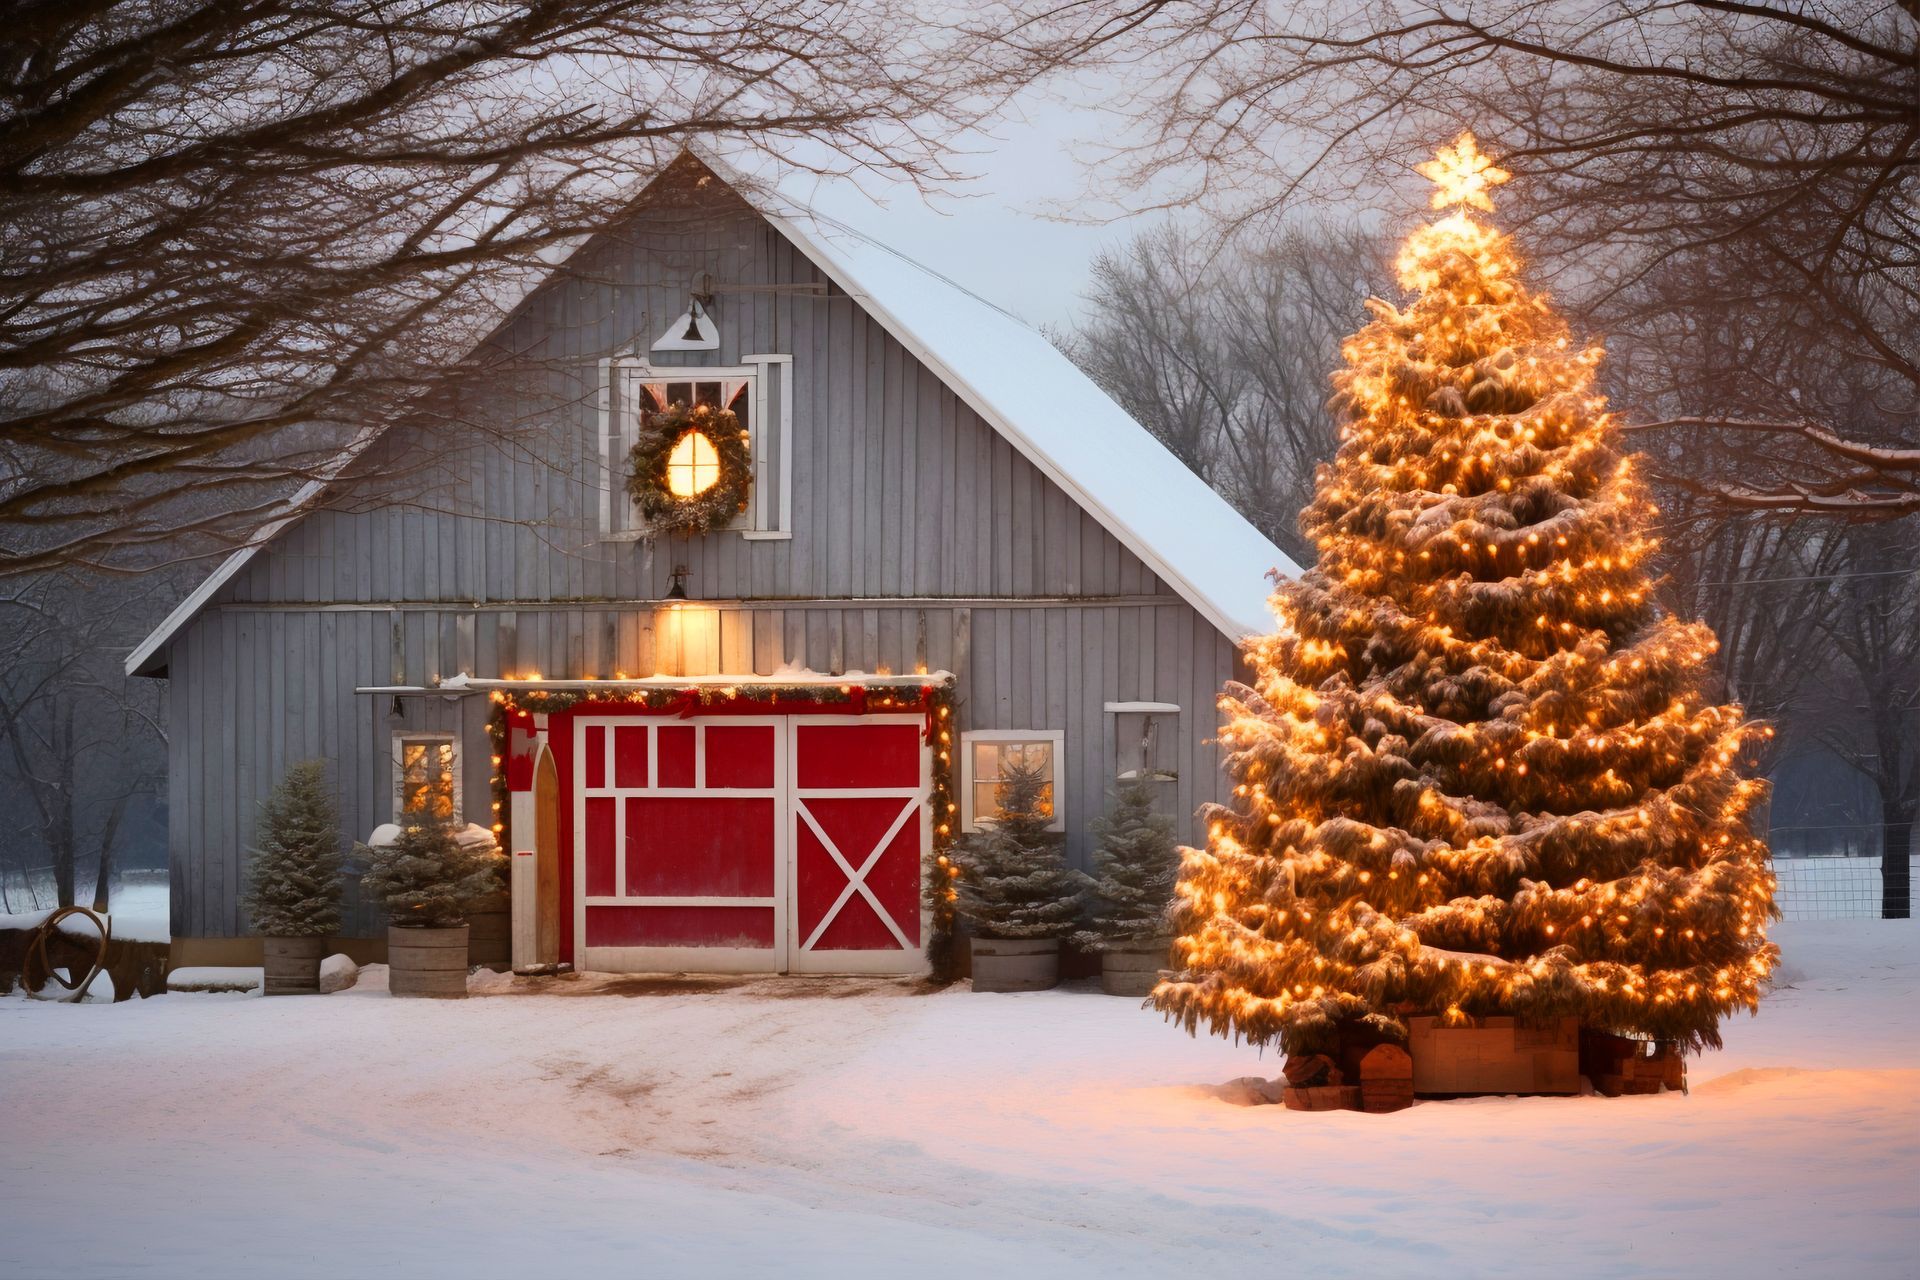
With these DIY tips, Roanoke homeowners can create a dazzling Christmas light display that brings joy to the neighborhood. Remember to prioritize safety, plan your design carefully, and enjoy the process of transforming your home into a winter wonderland. Happy decorating!
Holiday Brilliance Made Easy: Why Roanoke Homeowners Trust Professional Christmas Light Installation